This article was originally posted on my personal blog
You've probably seen so many Twitter bots on Twitter these days and thought "Hmm, how can I also create one?"
In this tutorial, we'll go over creating a simple Twitter bot that uses the Today in History API and tweet what happened today in history. We'll call it History Bot. You can find the repository with the full code here.
Creating The Twitter App
Before getting started in the technical part, we first need to create a Twitter App. First, log in to Twitter Developer's portal with the Twitter account you want the bot to tweet from.
Once you do that, go here to create a new app. You can also find this under Projects & Apps > Overview > Create App.
You will be asked to enter information like the name of the app, description of the app, and what you will be using the app for. Once you're done, you'll be shown a set of keys. You don't need to save those keys yet, as we will regenerate them later. Just scroll down and click on App Settings.
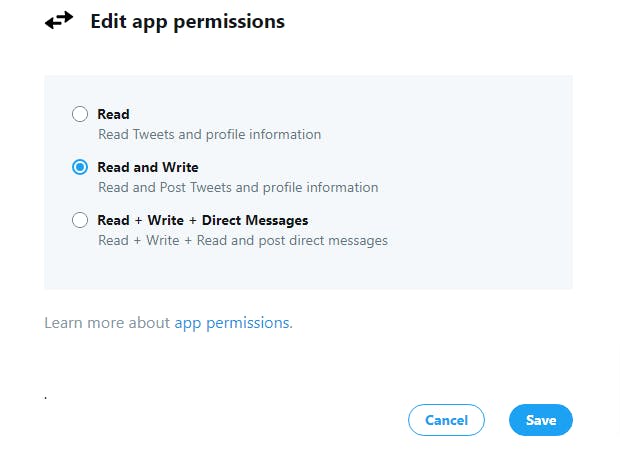
When you go to your app's dashboard, click on the Settings tab, then scroll down to App permissions. You will see that it says Read. We need to change that to Read and Write if we're going to be tweeting, so click on the edit button and choose Read + Write from the list, then click Save.

Now, go back to the Keys and tokens page, scroll down to Access token & secret and click Regenerate. The reason we need to regenerate them is that the initial tokens are only for the Read permission and cannot be used to add a tweet, i.e. Write. Once you click Regenerate and get the new keys, make sure to save them as you can't see them later unless you regenerate again.
You will also need to Regenerate the API key & secret if you don't have them. If you do, make sure to save them for later use as well.
Creating The Bot
Now we'll get to the technical part. We first need to initialize our project:
mkdir history-bot
cd history-bot
npm init
When you run npm init, you will need to enter a few information like package name or description. You can also skip that and go with the default settings by running npm init -y
When you are done with the above commands you will have the skeleton of the project.
Next, we will install the twitter-api-client package for easy interaction with Twitter's API:
npm i twitter-api-client
To use our tokens and API keys securely, we'll use the dotenv package:
npm i dotenv
Next, create .env file that should hold the following keys:
TWITTER_API_KEY=
TWITTER_API_SECRET=
TWITTER_ACCESS_TOKEN=
TWITTER_ACCESS_TOKEN_SECRET=
Note: if you are using the repository's code, there's a .env.sample file that you can rename to .env and add your keys in it.
Add the keys that you saved before in .env and save the file.
Now, create index.js which will hold our code. We will start the script by requiring the packages we will use:
require('dotenv').config()
const {TwitterClient} = require('twitter-api-client')
The first line ensures that we can use the variables we added in our .env file.
Then, we will create a Twitter client using our credentials in .env:
const twitterClient = new TwitterClient({
    apiKey: process.env.TWITTER_API_KEY,
    apiSecret: process.env.TWITTER_API_SECRET,
    accessToken: process.env.TWITTER_ACCESS_TOKEN,
    accessTokenSecret: process.env.TWITTER_ACCESS_TOKEN_SECRET
})
So let's go back to what we said the bot will do. The bot will fetch from the Today in History API what happened on this day in history, then it will tweet it to our account. To send the request to the API, we will need to install axios:
npm i axios
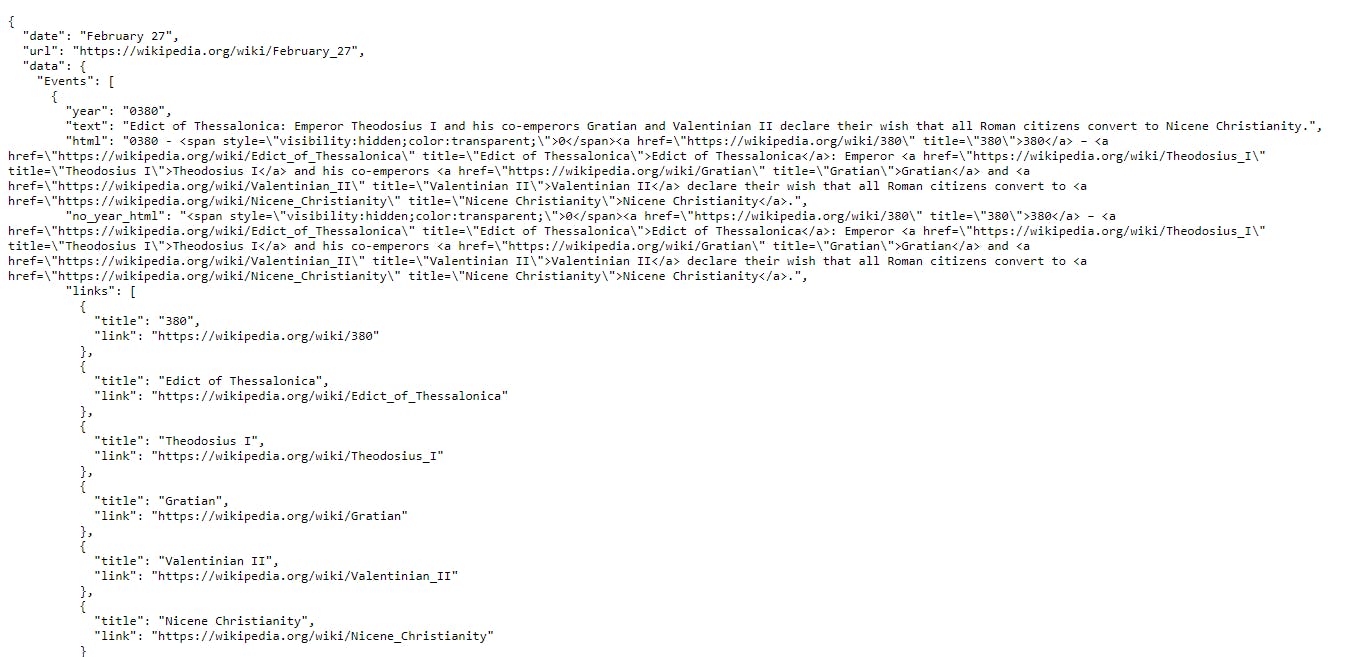
Let's take a little look at the API. A GET request to the endpoint https://history.muffinlabs.com/date will give us an object similar to this:

So, the response is an object that has the properties date, url, and data. Inside data there's the Events property that holds an array of events that happened on this day in history. In this tutorial, we'll just tweet the first item in the array.
We will add the following code to send the request to the API and retrieve the events:
axios.get('http://history.muffinlabs.com/date')
    .then(response => {
    const data = response.data.data ? response.data.data : {}
    let tweet
    if (data.Events && data.Events.length) {
        //tweet the first event in the array
        tweet = 'Year ' + data.Events[0].year + ' - ' + data.Events[0].text
    } else {
        tweet = 'Nothing happened today :)'
    }

    //TODO send the tweet
}).catch (err => {
    console.error(err)
})
Here's what we are doing here in details:
We are sending a GET request to the endpoint, then we are getting the data through response.data. Since the response object has the property data which holds Events, we are assigning it to a new variable data:
const data = response.data.data ? response.data.data : {}
Next, we are setting the tweet that we will be sending. If in the data object received there's an Event property and that holds at least one item, we are setting the tweet to the year plus the text:
if (data.Events && data.Events.length) {
    //tweet the first event in the array
    tweet = 'Year ' + data.Events[0].year + ' - ' + data.Events[0].text
}
If the Events property is not received or there are no events on this day, we will set the tweet into a default text:
else {
    tweet = 'Nothing happened today :)'
}
We also added a catch to the GET request in case an error occurs:
.catch (err => {
    console.error(err)
})
What is left is to use the Twitter client we created earlier to send the tweet to our account. We will use the twitterClient.tweets.statusesUpdate method which can take many optional parameters (you can check out all the details here), but requires one parameter status which is the text of the tweet.
This will be the code to send the tweet:
twitterClient.tweets.statusesUpdate({
    status: tweet
}).then (response => {
    console.log("Tweeted!", response)
}).catch(err => {
    console.error(err)
})
If the tweet goes through, we will log to the console "Tweeted" with the response object. If an error occurs, we will log to the console the error.
Now, our script should look like this:
require('dotenv').config()
const {TwitterClient} = require('twitter-api-client')
const axios = require('axios')

const twitterClient = new TwitterClient({
    apiKey: process.env.TWITTER_API_KEY,
    apiSecret: process.env.TWITTER_API_SECRET,
    accessToken: process.env.TWITTER_ACCESS_TOKEN,
    accessTokenSecret: process.env.TWITTER_ACCESS_TOKEN_SECRET
})

axios.get('http://history.muffinlabs.com/date')
    .then(response => {
    const data = response.data.data ? response.data.data : {}
    let tweet
    if (data.Events && data.Events.length) {
        //tweet the first event in the array
        tweet = 'Year ' + data.Events[0].year + ' - ' + data.Events[0].text
    } else {
        tweet = 'Nothing happened today :)'
    }

    twitterClient.tweets.statusesUpdate({
        status: tweet
    }).then (response => {
        console.log("Tweeted!", response)
    }).catch(err => {
        console.error(err)
    })
}).catch (err => {
    console.error(err)
})
We are ready to run the script to send the tweet now.
Go to package.json and add inside scripts the start script:
"scripts": {
    "start": "node index.js"
},
Then, in your terminal or command line, run:
npm start
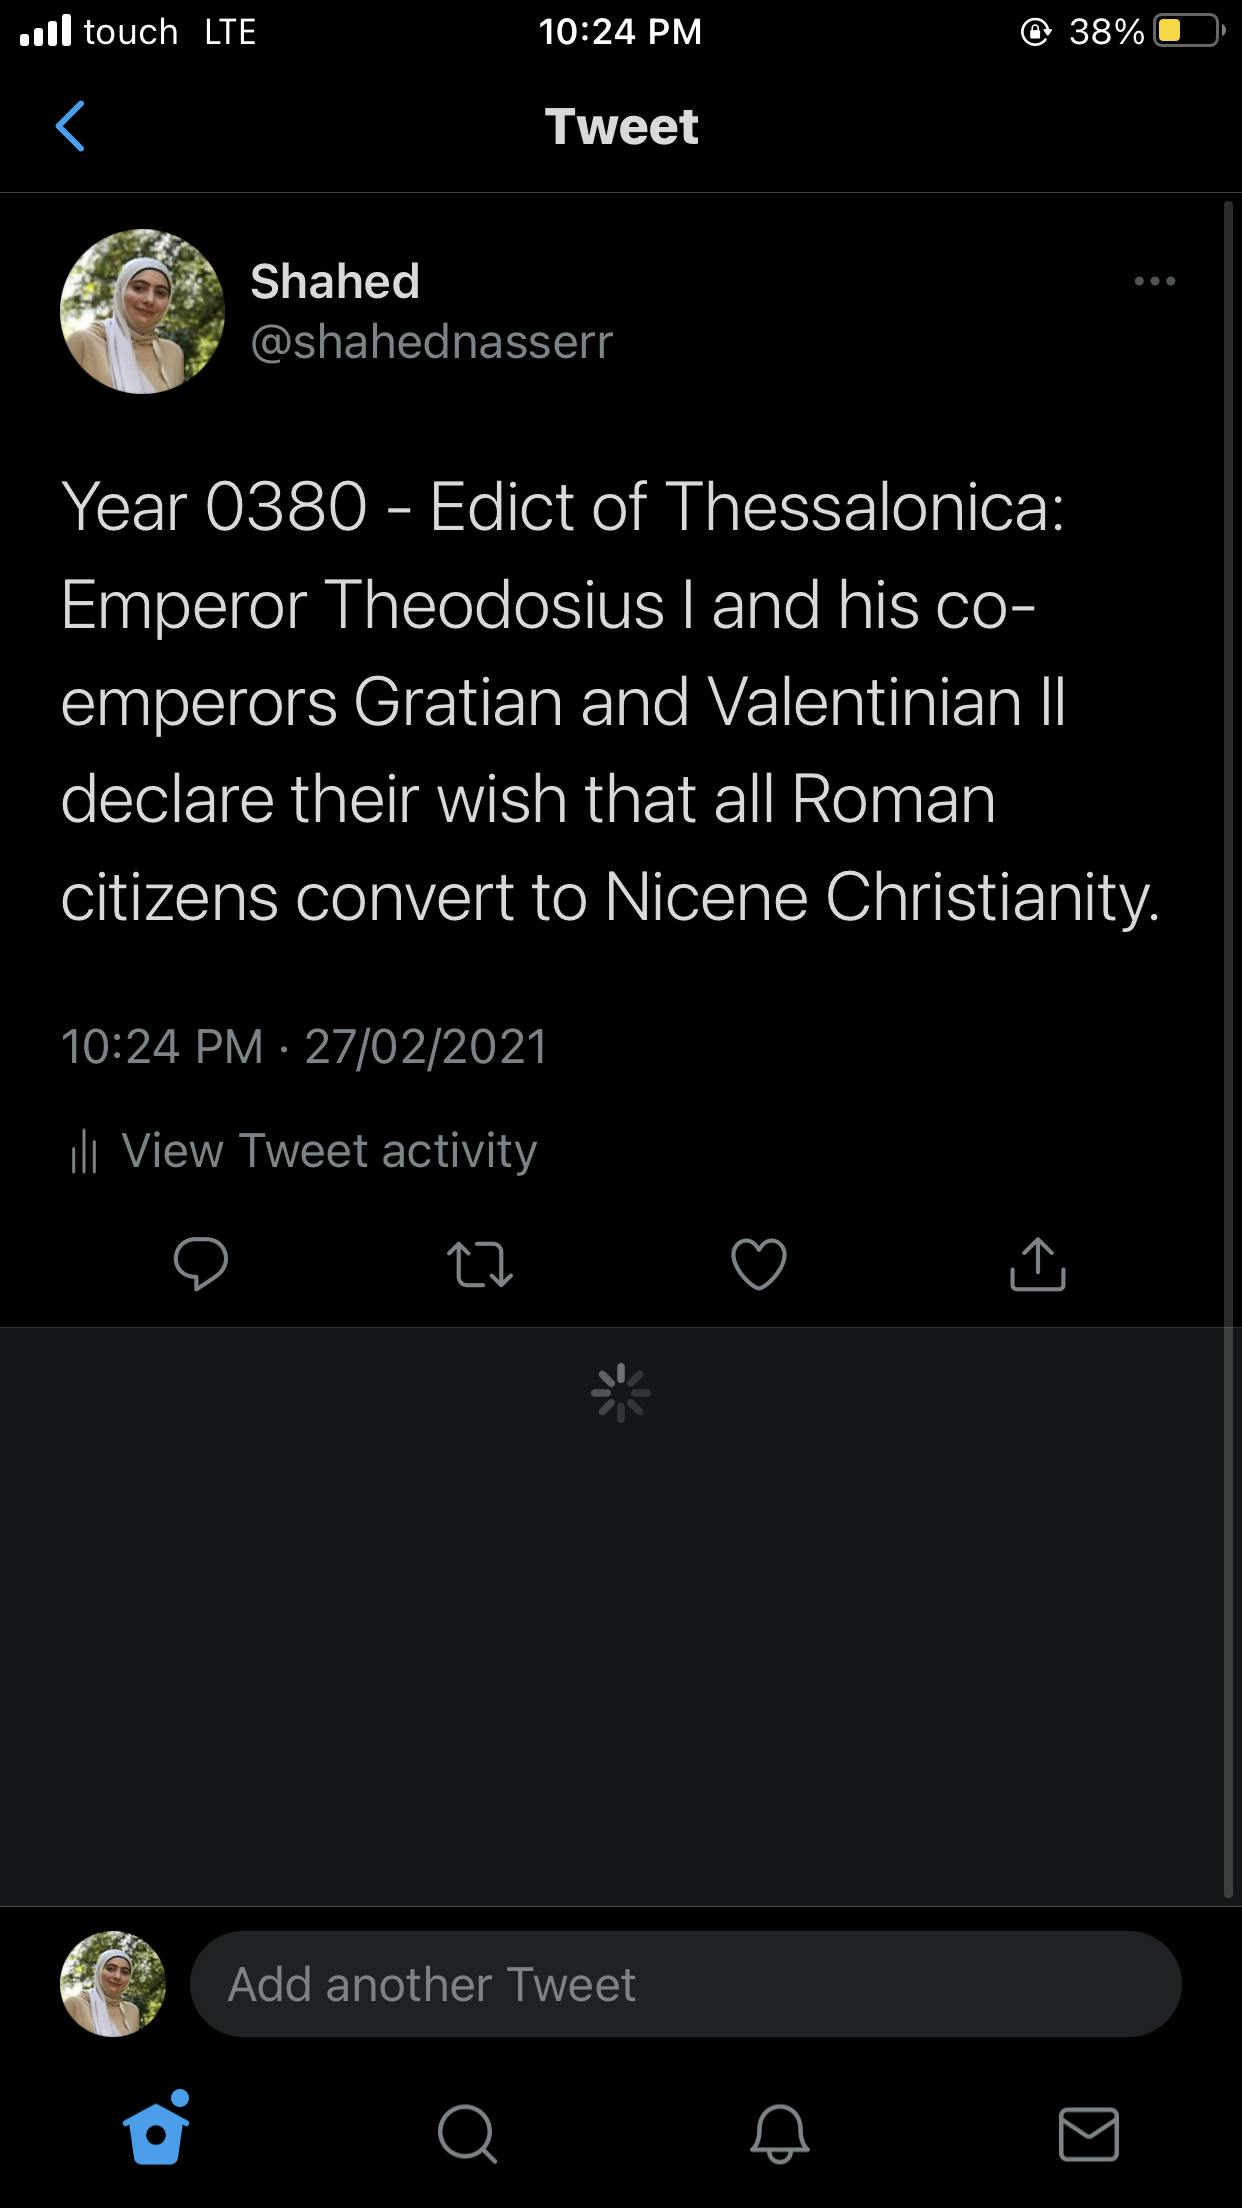
If all steps are done correctly, you will see in your console "Tweeted" with the response object. You can also go to the account you created the app from on Twitter and you will see your tweet!

If you encounter an error related to authentication or authorization, make sure that all your keys and tokens are correct and make sure that you have enabled the Read + Write permissions.
Conclusion
Congrats, you've created your first Twitter bot! I suggest you go through Twitter's documentation and the twitter-api-client package as well to see what more you can do with your Twitter bot.API